
One Hour Cheese and Beer Bread
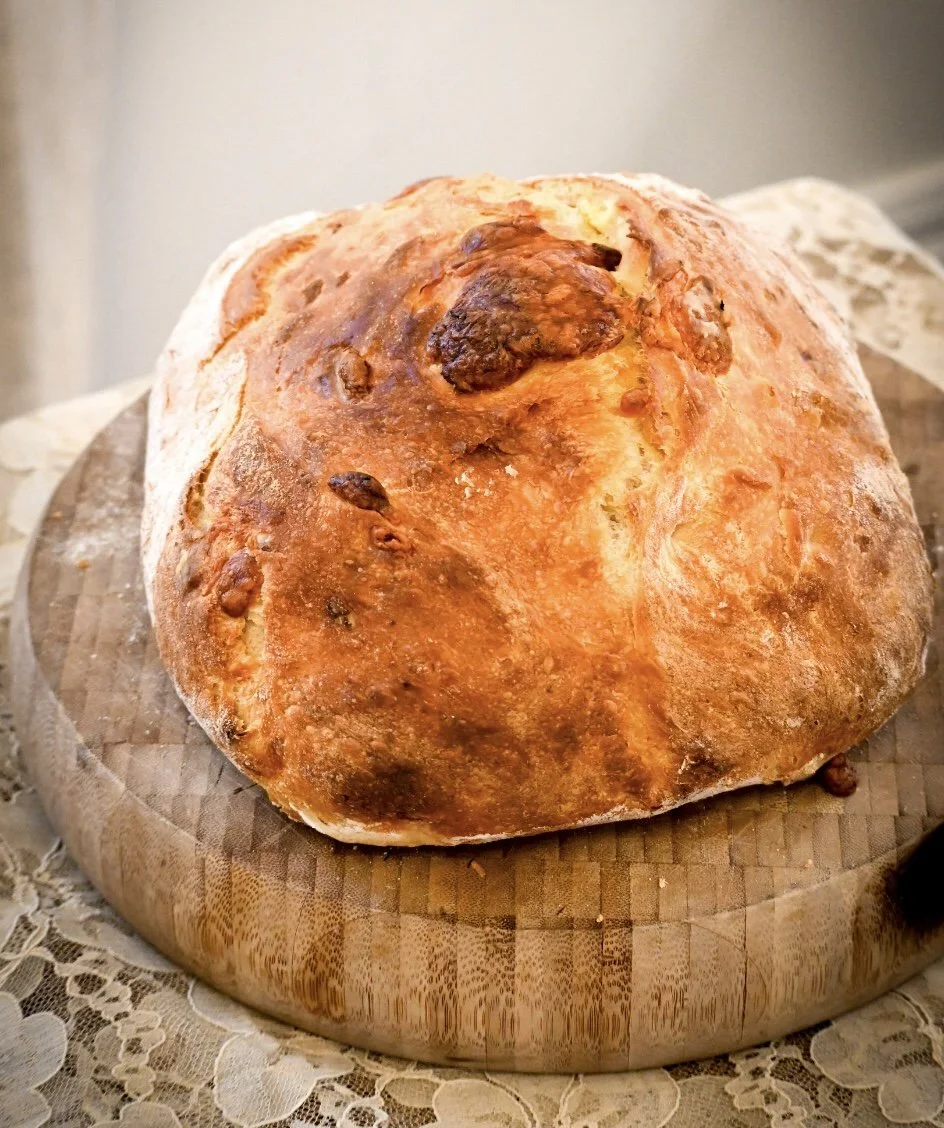
This is a full-flavoured variation of my all-time favourite ‘One Hour Bread’—a recipe that can literally go from ingredients in the pantry to fresh-from-the-oven in an hour if that’s all the time you’ve got to get dinner on the table.
If you’ve got a wee bit more time, 90 minutes is ideal to get as much puff as possible.
Because this bread is so packed with flavour, you barely need anything else—maybe some boiled eggs, butter, pickled vegetables, or a meal-prepped stew or soup. It’ll feel like you’ve made a big, loving effort for yourself or your family but it takes so little time. As much as I love cooking and preparing healthy meals daily, sometimes my kids just really love tinned tomato soup and bread with butter, so, sometimes that’s what we do.
You can make variations to this loaf by adding fresh or dried herbs, onion or garlic powder, a spoonful of tomato paste or turmeric for colour. Use whatever cheese you’ve got—I usually go for about 100g of tasty or matured cheddar and then top it up with what you have left in the fridge. the last of the feta, fresh mozzarella...anything you like.
The trick with this dough is the high hydration, the amount of yeast, a head start with hot water and essentially, good gluten development. You do need a KitchenAid or similar stand mixer, and it must be the K/paddle attachment—not the dough hook. You’ll knead it for 10 solid minutes or more, until the dough comes completely away from the sides and forms a soft, stretchy ball. That’s your gluten working.
If you don’t have a stand mixer, this exact method won’t work in an hour—but you can still use the recipe to make a beautiful focaccia-style loaf with a longer rise.
Don’t have beer? No worries. Just use 690ml of warm water instead.
One Hour Bread Cheese & Beer Bread
Ingredients:
5 ¼ cups plain or high-grade flour (650g)
3 tsp salt
4½ tsp instant yeast
1 x 330ml can of beer
1 x full beer can of very hot water (to make total liquid 680ml)
200g coarsely grated, cubed or crumbled cheese
Method:
Place all ingredients except cheese into the bowl of a stand mixer fitted with the K/paddle attachment.
Mix on low to combine (it will look like a very wet dough).
Turn the mixer up to medium-high and hold onto it—it’ll dance around a bit! Mix for 10 minutes until the dough starts to pull away from the sides and forms a soft ball. The sound will change to a dull thump when the gluten is developed.
Add cheese and mix gently until evenly incorporated.
Bake:
Immediately preheat your oven to 220°C.
Cover the bowl with a damp tea towel and leave to rise for 20–40 minutes, depending on how much time you have. It’ll rise quickly and may dome over the bowl—but you don’t need to wait for it to double if you’re in a rush.
When ready to bake, heavily flour a large, flat baking tray. (No greaseproof paper—it sticks!)
With wet hands and a light touch, tip the dough out onto the tray. Try not to knock out too much air.
Gently turn it over and shape it into a rough loaf so it’s coated in flour and the top is smooth.
Bake on a lower rack for 30–40 minutes (use fan bake for the first half if you have it) until deep golden and crusty.
Let it rest for a few minutes before slicing, it’s full of very hot steam so be careful!
So good. So so good. Let me know if you try it! x